


Author: mblum6180_l6d6qy
Things to do after installing Debian
Initial Setup and User Configuration
Add User to sudoers:
su -
apt install sudo
usermod -aG sudo [user]
exit
logout
Log back in as the user.
System Utilities and Services
Install Basic Services:
sudo apt install avahi-daemon
sudo shutdown -r now
Reboot the system to apply changes. Log back in after reboot.
SSH Key Configuration:
ssh-copy-id (UserName)@(ComputerName).localGUI Management (if needed):
Disable GUI:
sudo systemctl set-default multi-user.targetEnable GUI:
sudo systemctl set-default graphical.targetSerial Port Access
Adding a User to tty and dialout Groups:
sudo usermod -a -G tty [username]
sudo usermod -a -G dialout [username]
System Updates and Package Installation
Update and Upgrade Packages:
sudo apt update
sudo apt upgrade -y
Install Development Tools and Utilities:
sudo apt install build-essential screen fail2ban htop rsync vim -y
sudo apt install tmux curl git ncdu python3-pip python-is-python3 python-dev-is-python3 -y
Create an Update Script
Script to Automate Updates:
Create a new script file, e.g.,
update_script.shand make it executable:nano update_script.sh # Add the following content to the file: #!/bin/bash sudo apt update sudo apt full-upgrade -y sudo apt autoremove -y sudo apt autoclean flatpak update sudo snap refresh # Make the script executable: chmod +x update_script.sh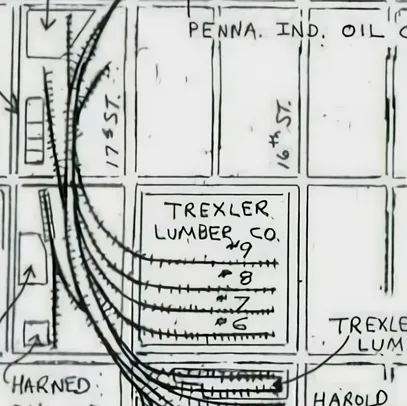
Lehigh Valley Railroad West End Branch Map
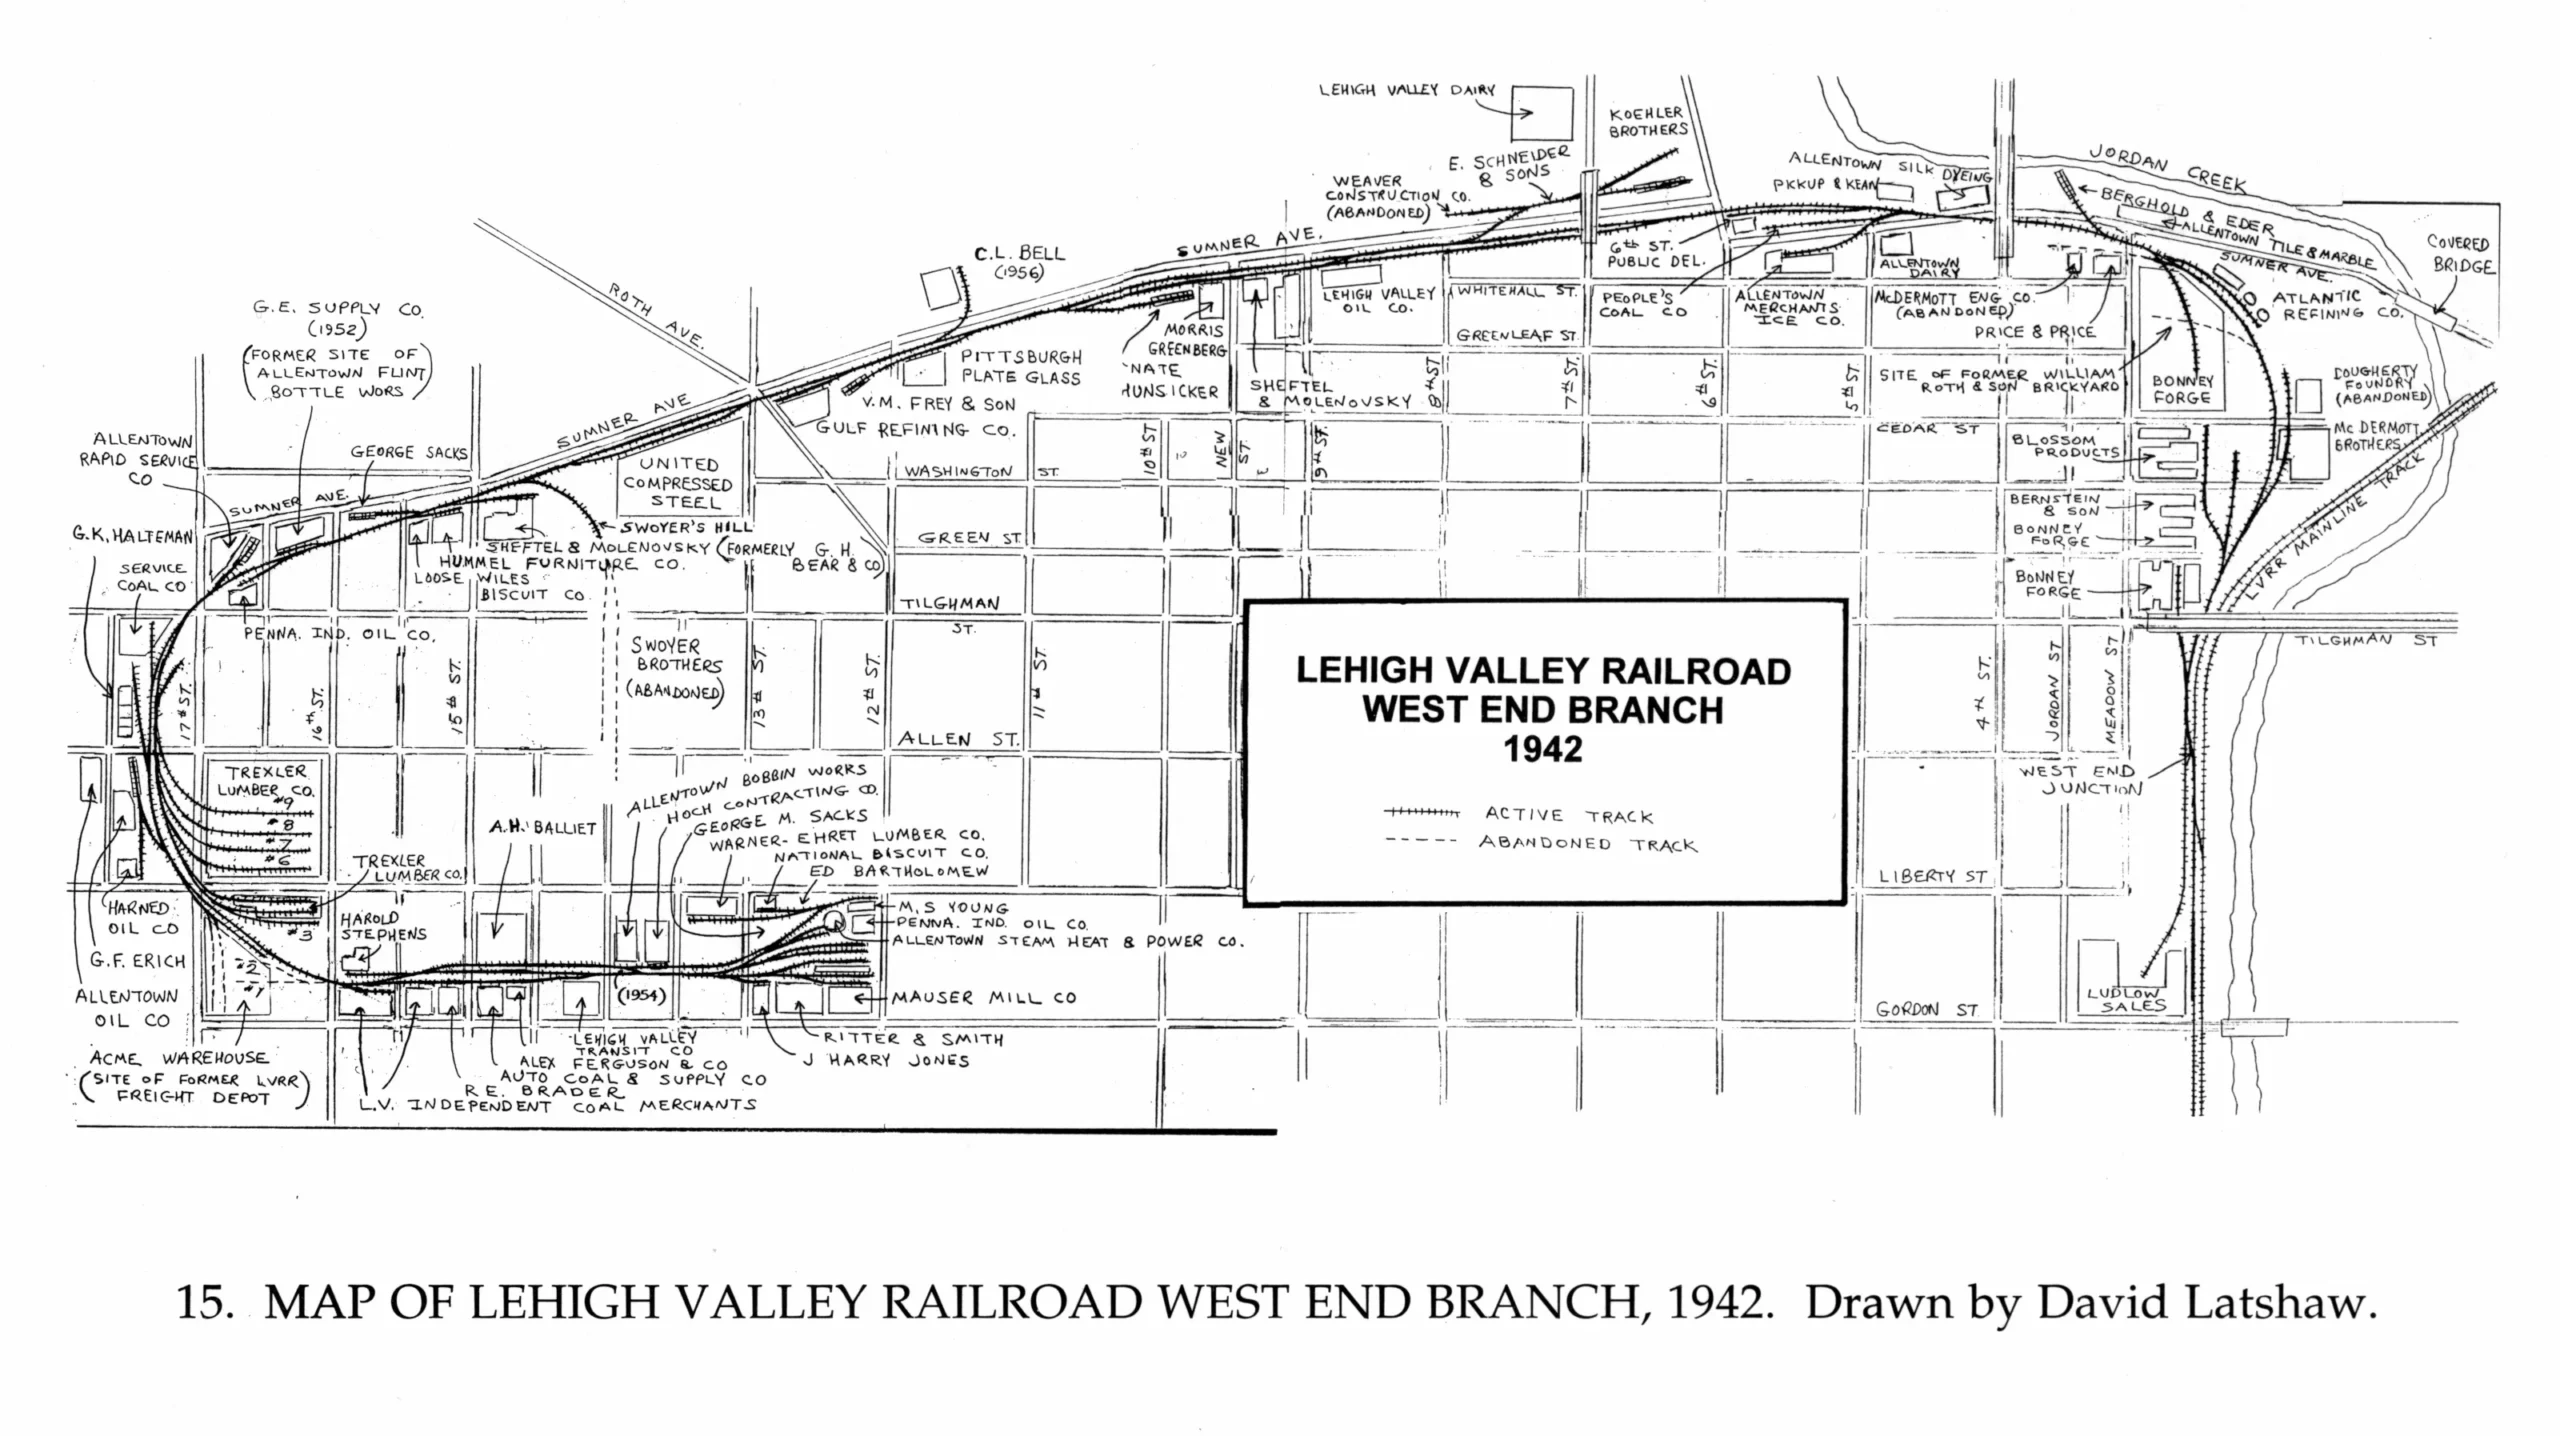
Source: Map from Proceedings of the Lehigh County Historical Society, vol. 40, Lehigh County Historical Society, 1992, p. 269.